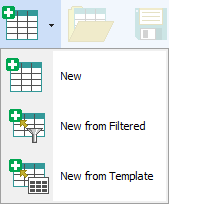
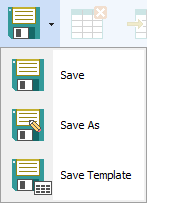
File Menu
Jump to navigation
Jump to search
- Open - Opens any of the previously saved “Chemical Spreadsheet” (CHS) files.
- Close - Closes the active spreadsheet. A message box will prompt the user to save the active project.
-
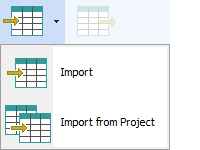
- Import - Imports data to the active spreadsheet. The supported file formats include single structure files (CDX, MOL, SK2, and SKC), multiple structures files (SDF, RDF), as well as tab-delimited text (TXT) or comma separated value (CSV) files with chemical structures as SMILES strings.
NOTE: Importing new data to the open spreadsheet will append all the structures from a new data source. All the columns in the original spreadsheet associated with modules available in ACD/Percepta (i.e., the ones calculated from within the program) will be automatically populated with the calculated corresponding property values for the new appended molecules. - Import from Project - Imports data to the active spreadsheet from another project. After selecting this menu item a dialog box is displayed guiding you through all steps of the import process.
- Import - Imports data to the active spreadsheet. The supported file formats include single structure files (CDX, MOL, SK2, and SKC), multiple structures files (SDF, RDF), as well as tab-delimited text (TXT) or comma separated value (CSV) files with chemical structures as SMILES strings.
- Export - Allows export of the contents of the current spreadsheet to an SDF, RDF, TXT, CSV, or XLS formats.
NOTE: All the compounds in the active spreadsheet are exported, regardless of any filters applied at the moment of data export making some of the rows invisible.
Import from Project
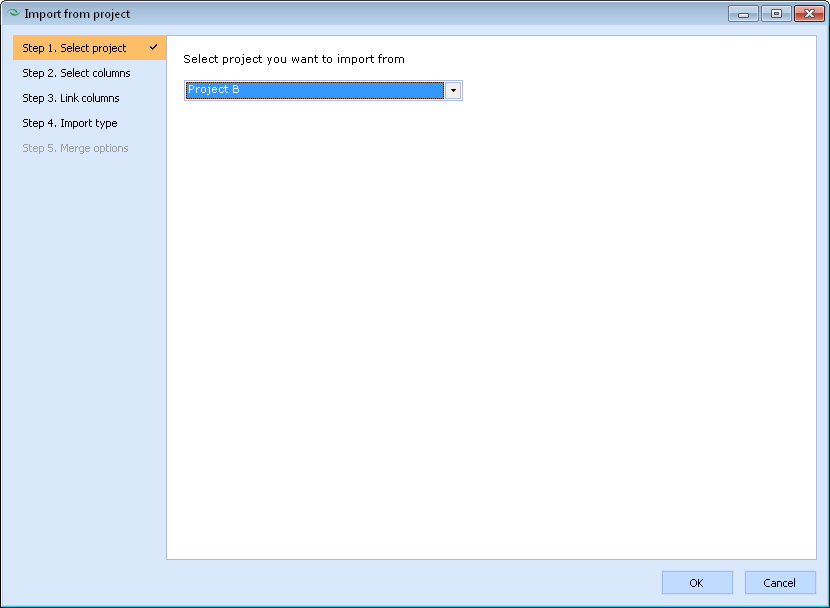
- Select the project to be used as a source of data for import from a dropdown box.
NOTE: Only those projects that are currently opened in ACD/Percepta are displayed in this list.
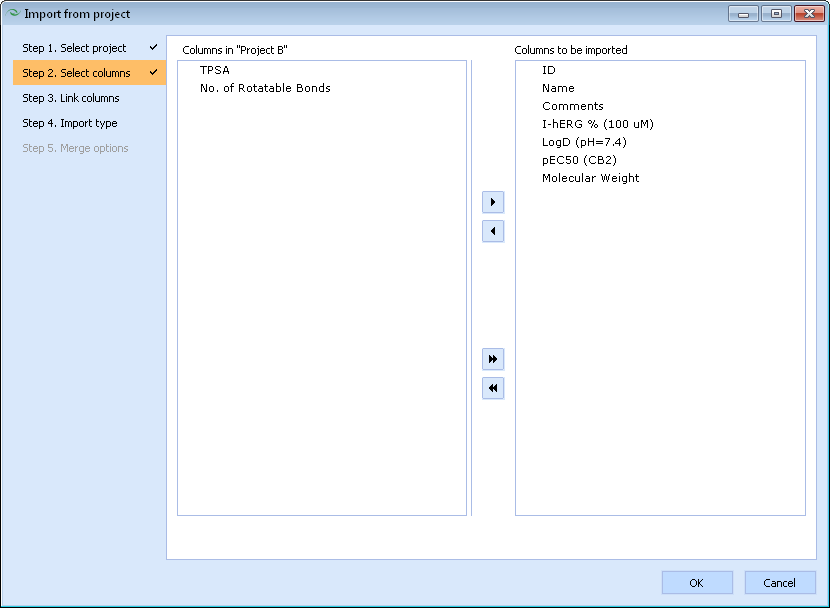
- Drag all columns of the source project that you wish to be imported to the right-hand side pane.
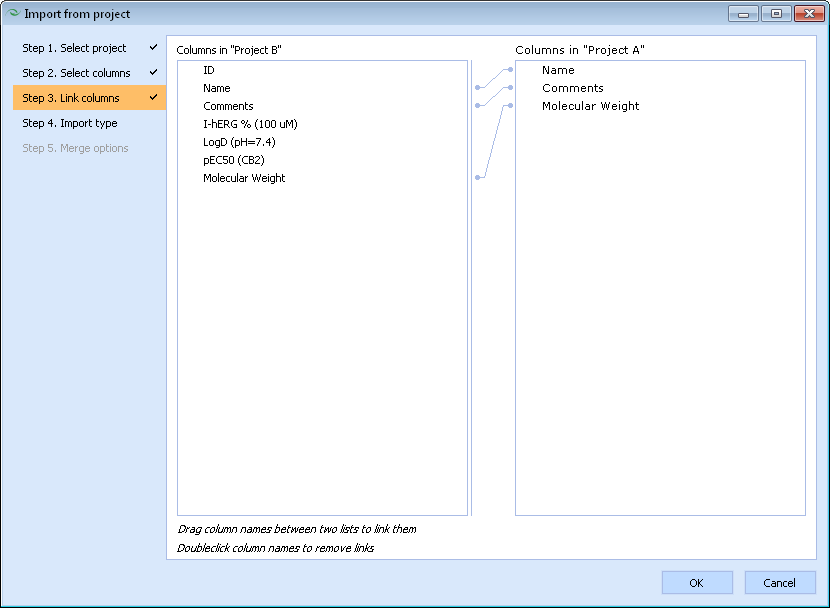
- Link matching columns between the source and destination projects. If both projects contain columns with identical names, these will be linked automatically. Otherwise, if certain columns contain the same kind of data, but are named differently, you will need to link them manually.
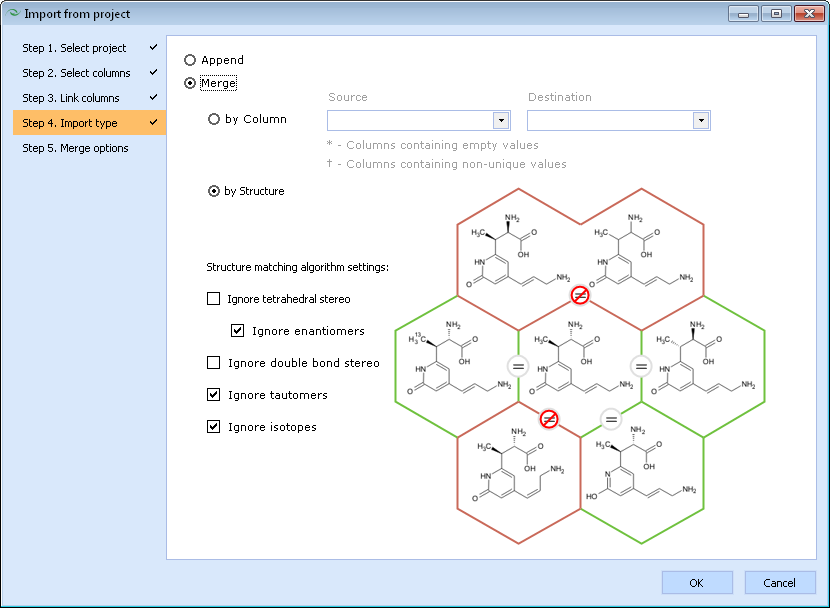
- Specify whether the program should simply append the entries from the source project without any checking for possible duplicates, or merge the data from both source and destination projects with matching entries identified either by comparing values stored in a particular column or by molecular structure. In the latter case, a honeycomb diagram is displayed illustrating whether the central molecule would match (denoted by "=" sign) the molecules on the outside under the currently selected settings.
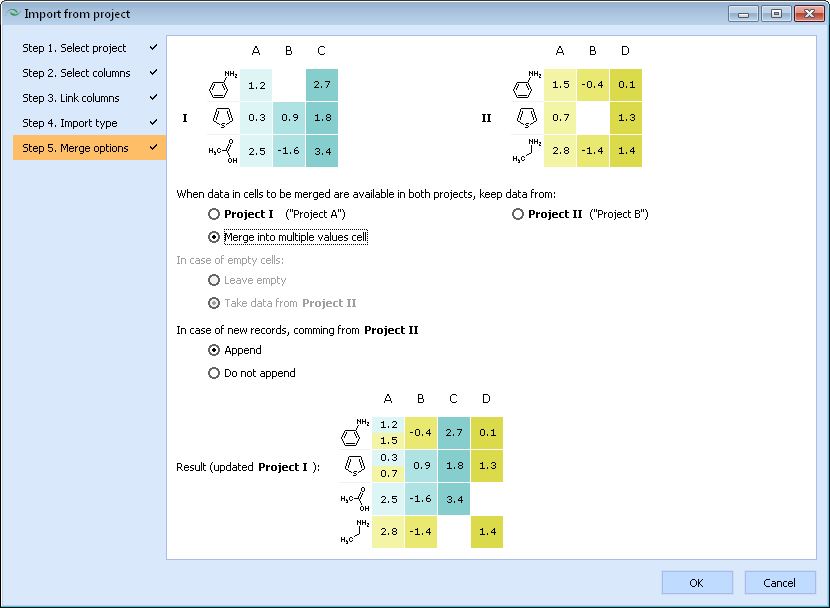
- Finally, if "Merge" import type was selected on step 4, several additional options specifying how to deal with missing or overlapping values need to be set. This window also presents a schematic diagram illustrating how the resulting project would look like if the example data shown above would be merged under the currently selected settings.
